Snacks

Sriracha Pickles

Sriracha Pickles Recipe at: stephanie-spring.comSriracha Pickles Recipe at: stephanie-spring.comI’ll just put it out there…I can’t take credit for this creation, it was all Eric. He’s extremely creative with mixing flavors and having it turn out amazing! I normally really don’t like pickles. At all. But, these were an exception. I loved them and found myself sneaking bites from the fridge. They have that perfect balance of hot and tangy, sweet and spicy.
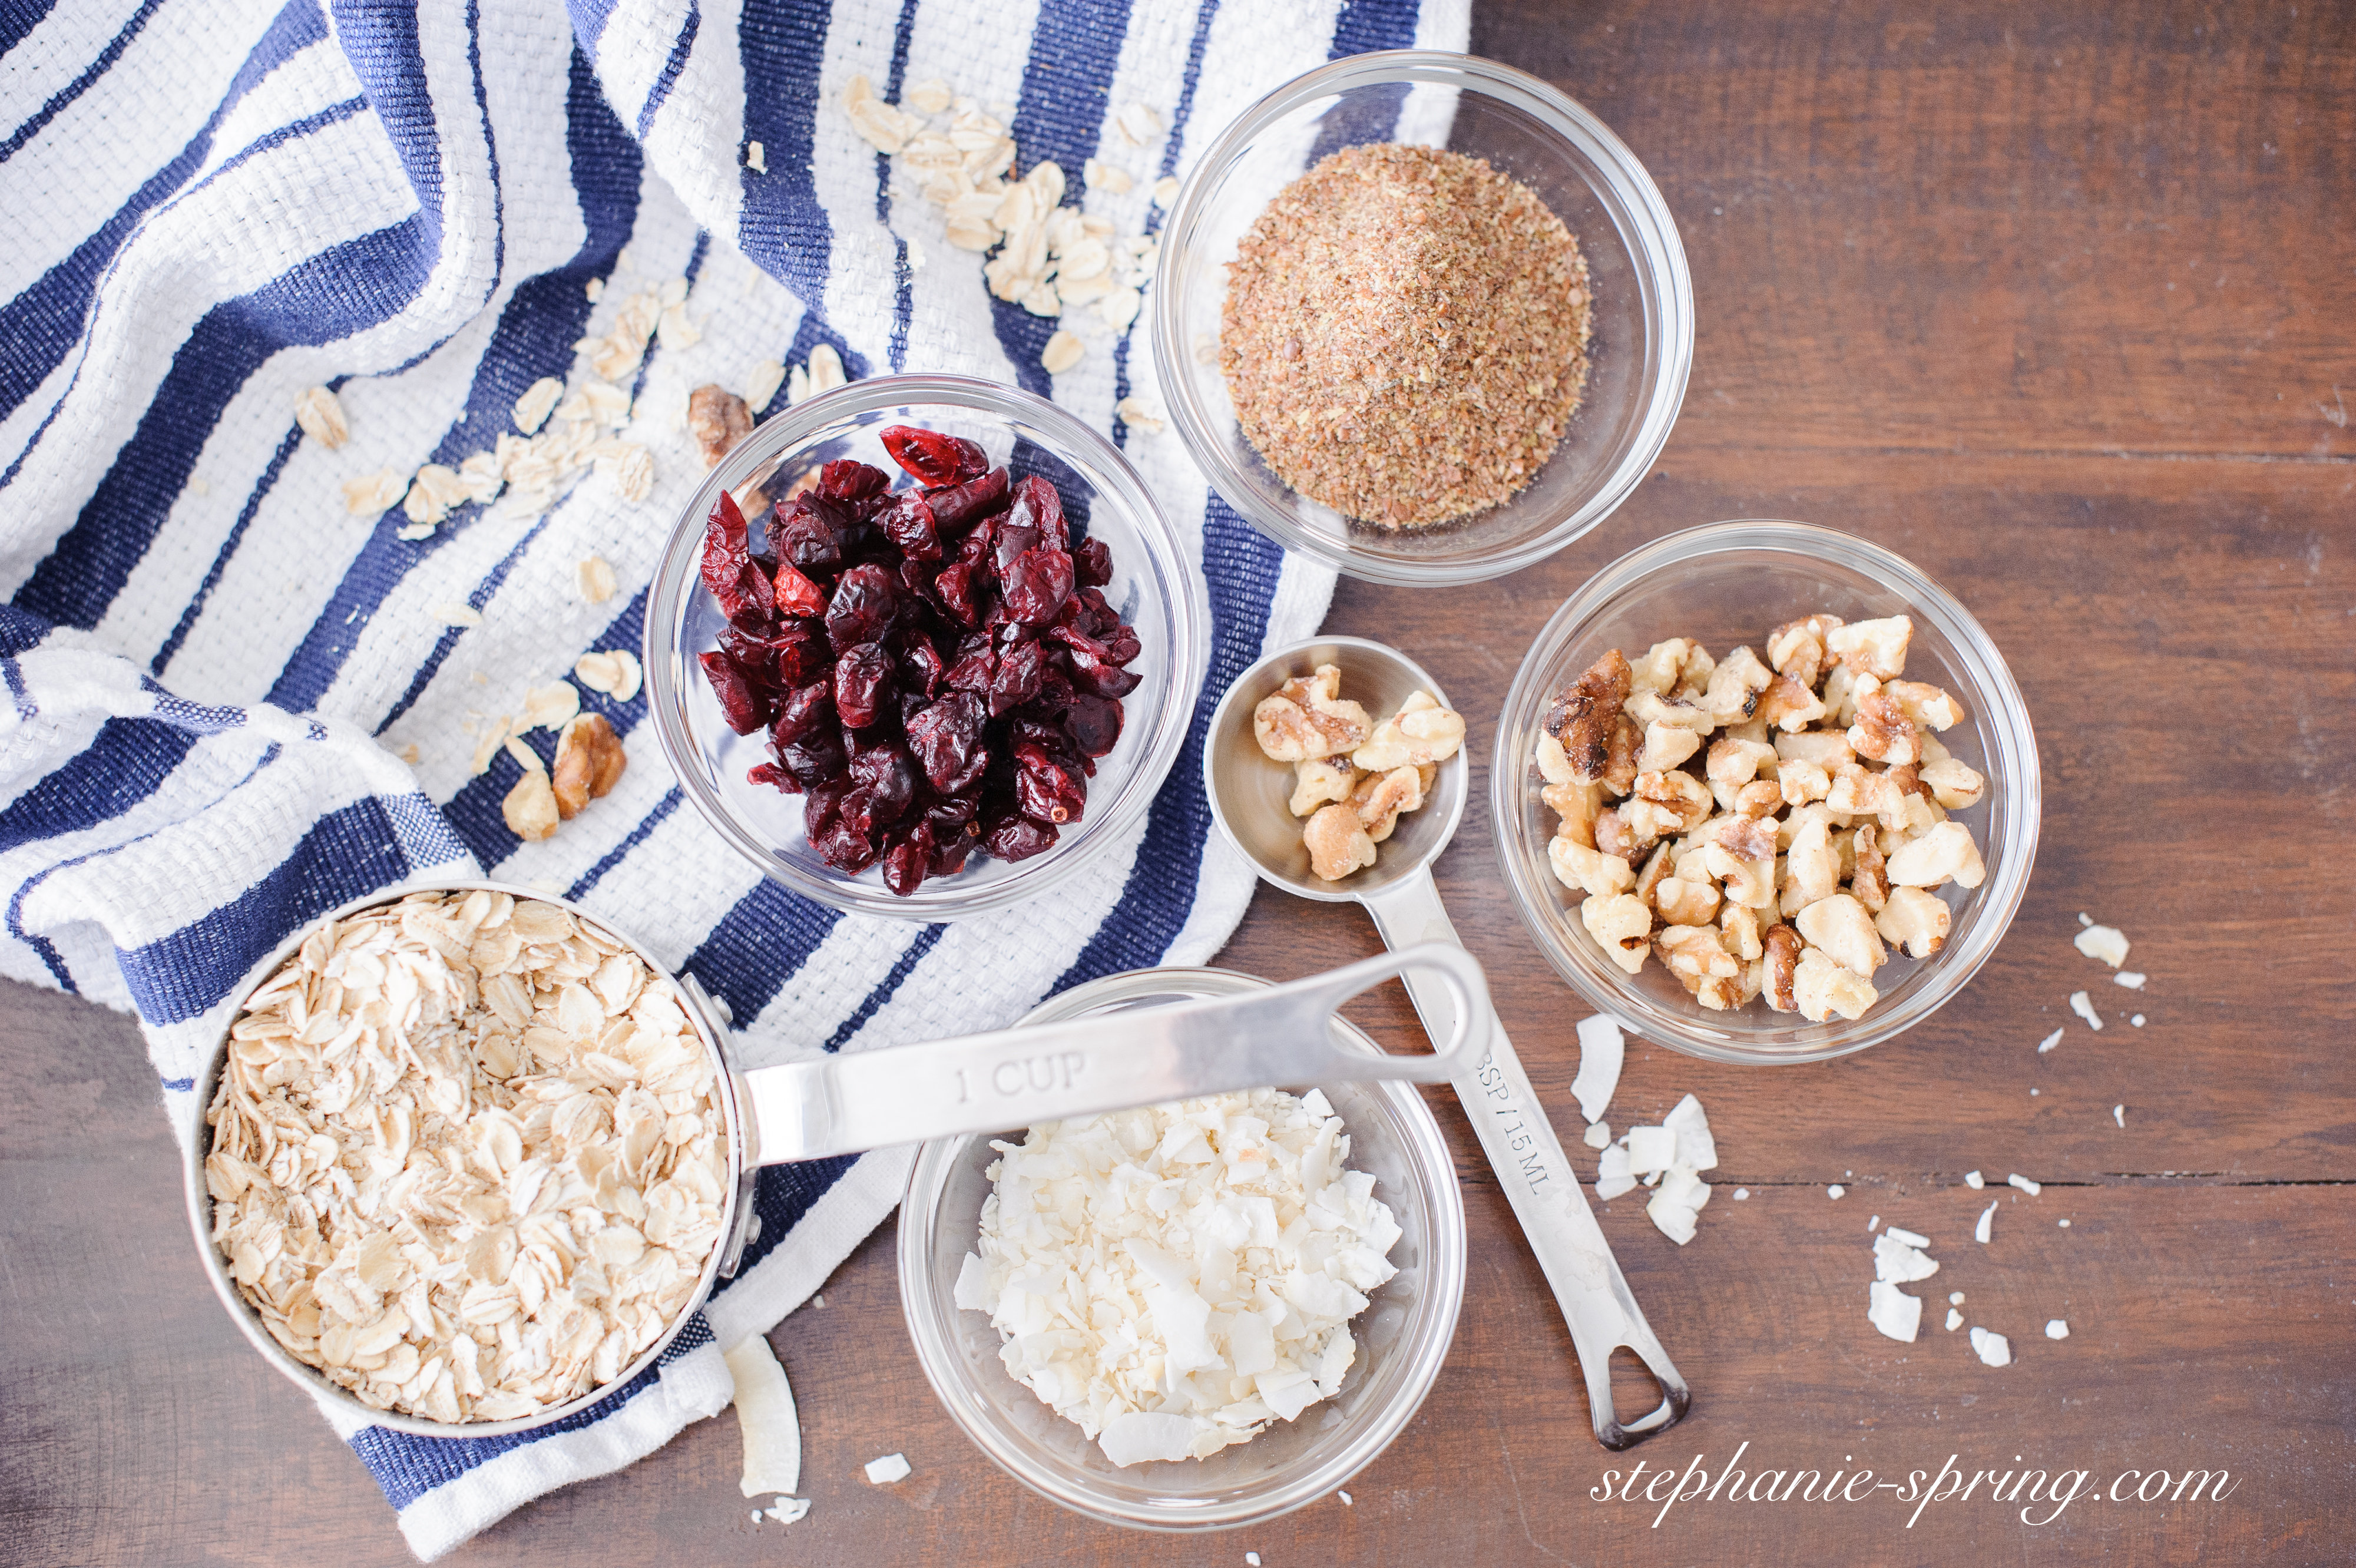

Ingredients:

  • 2 English cucumbers (also called Hothouse cucumbers)
  • 1 3/4 cups rice vinegar
  • 3 1/2 tablespoons kosher salt
  • 3 tablespoons sugar
  • 2 cups of water
  • 3 tablespoons Sriracha Sauce
  • 2 teaspoon black peppercorns
  • 4 teaspoons dill seed
  • 2 teaspoons minced garlic
  • Crushed red pepper flakes (Large dash per jar)


What to do: 

*This recipe makes four pint jars or two-quart jars.*

Mix the rice vinegar, kosher salt, and sugar together with a spoon until the sugar is dissolved. Add 2 cups of water and 3 tablespoons Sriracha. Mix and set aside. Wash and slice cucumbers into chips or spears. We like the spears best. They are great for a quick snack. 🙂

In a small bowl, mix all the seasonings together and divide evenly among the jars. Fill the jars with your cucumber chips or spears. Evenly pour the liquid mixture into each jar, leaving half an inch to an inch of space at the top. Seal all of the jars and place in the refrigerator. You can eat them as soon as the next day, but they reach their best flavor after three to five days and last several weeks. Enjoy and buy all your Sriracha-loving friends this! 😉

Energy Bites

Energy Bites Recipe at: Stephanie-spring.comEnergy Bites Recipe at: Stephanie-spring.com
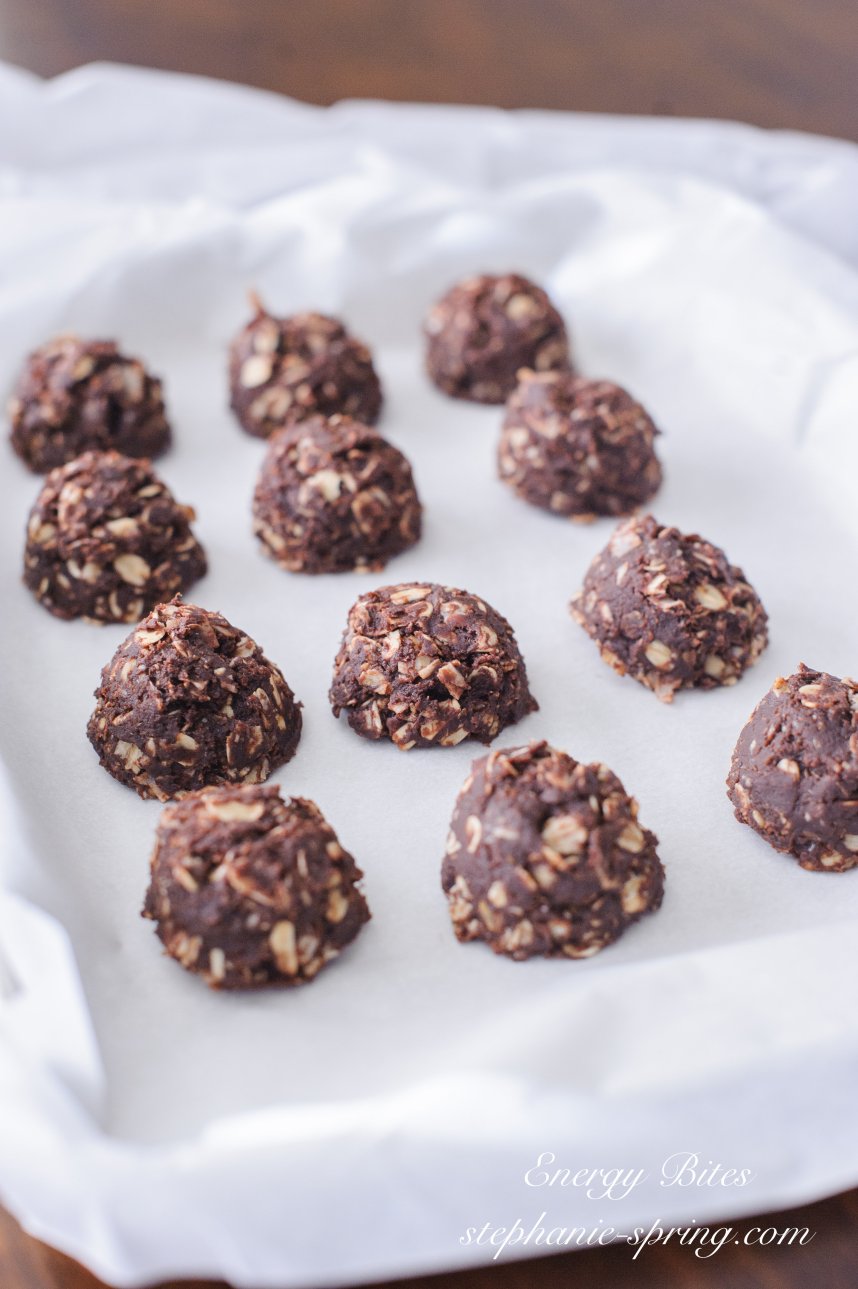
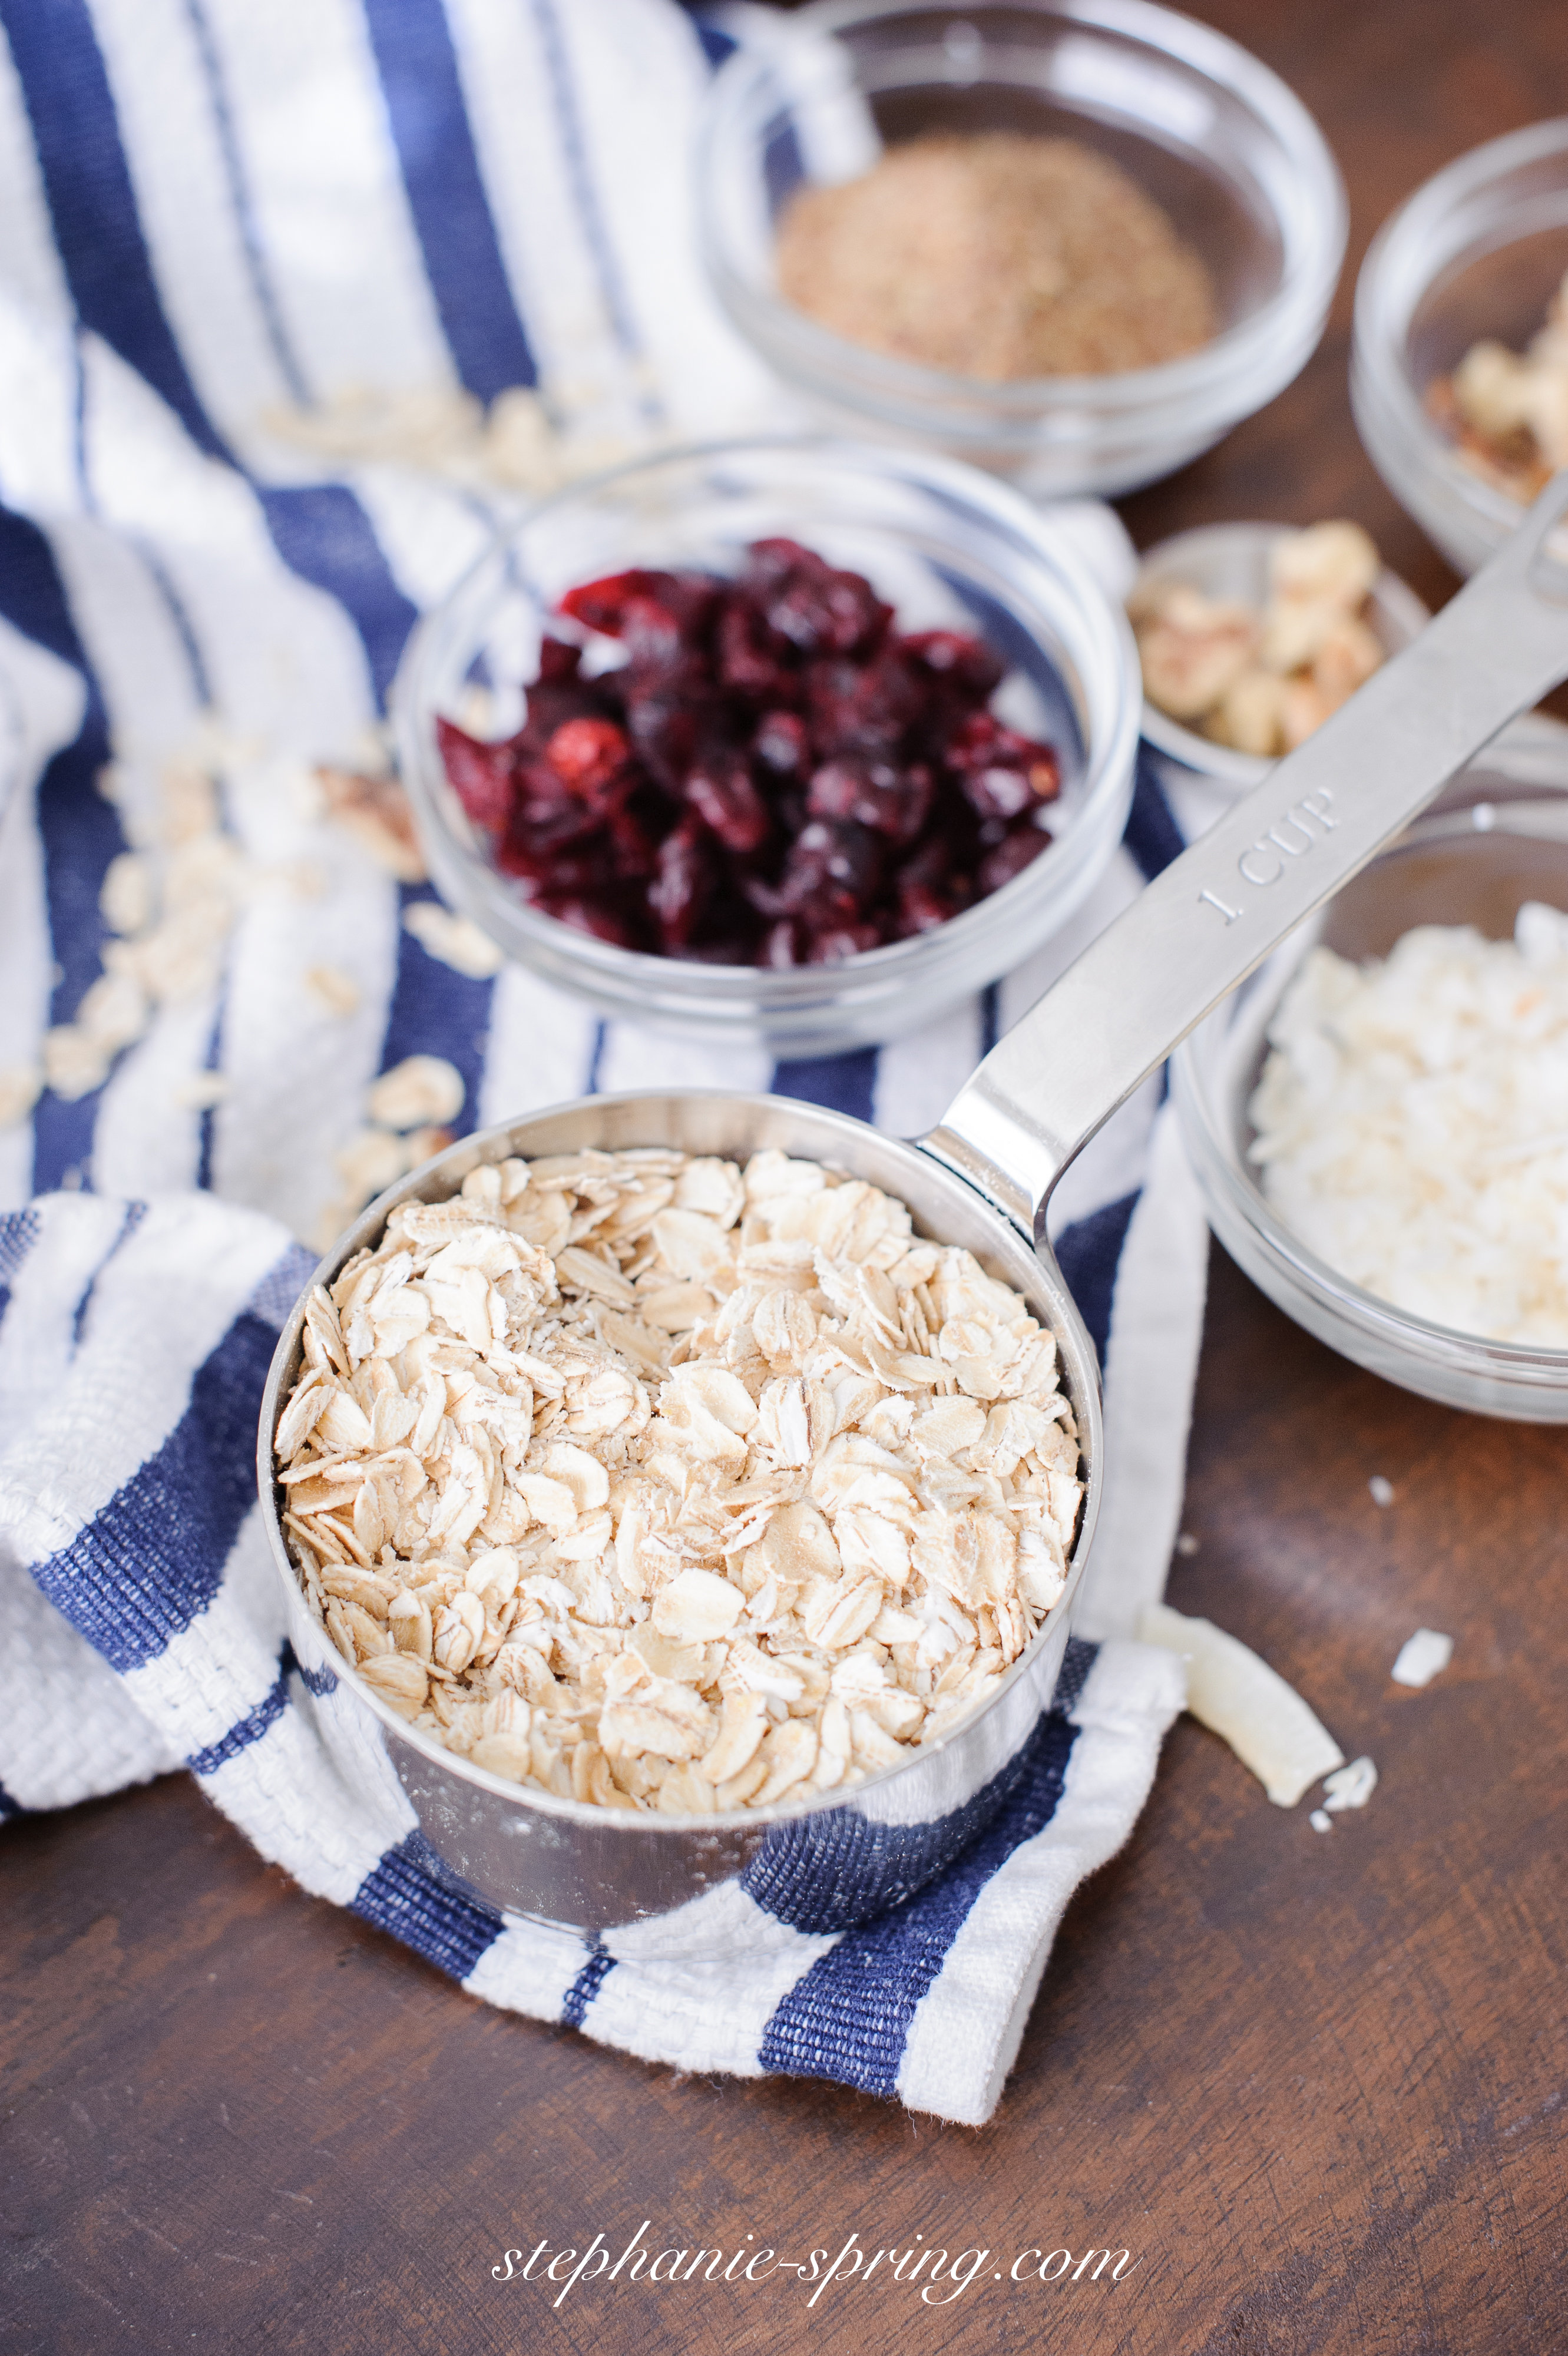
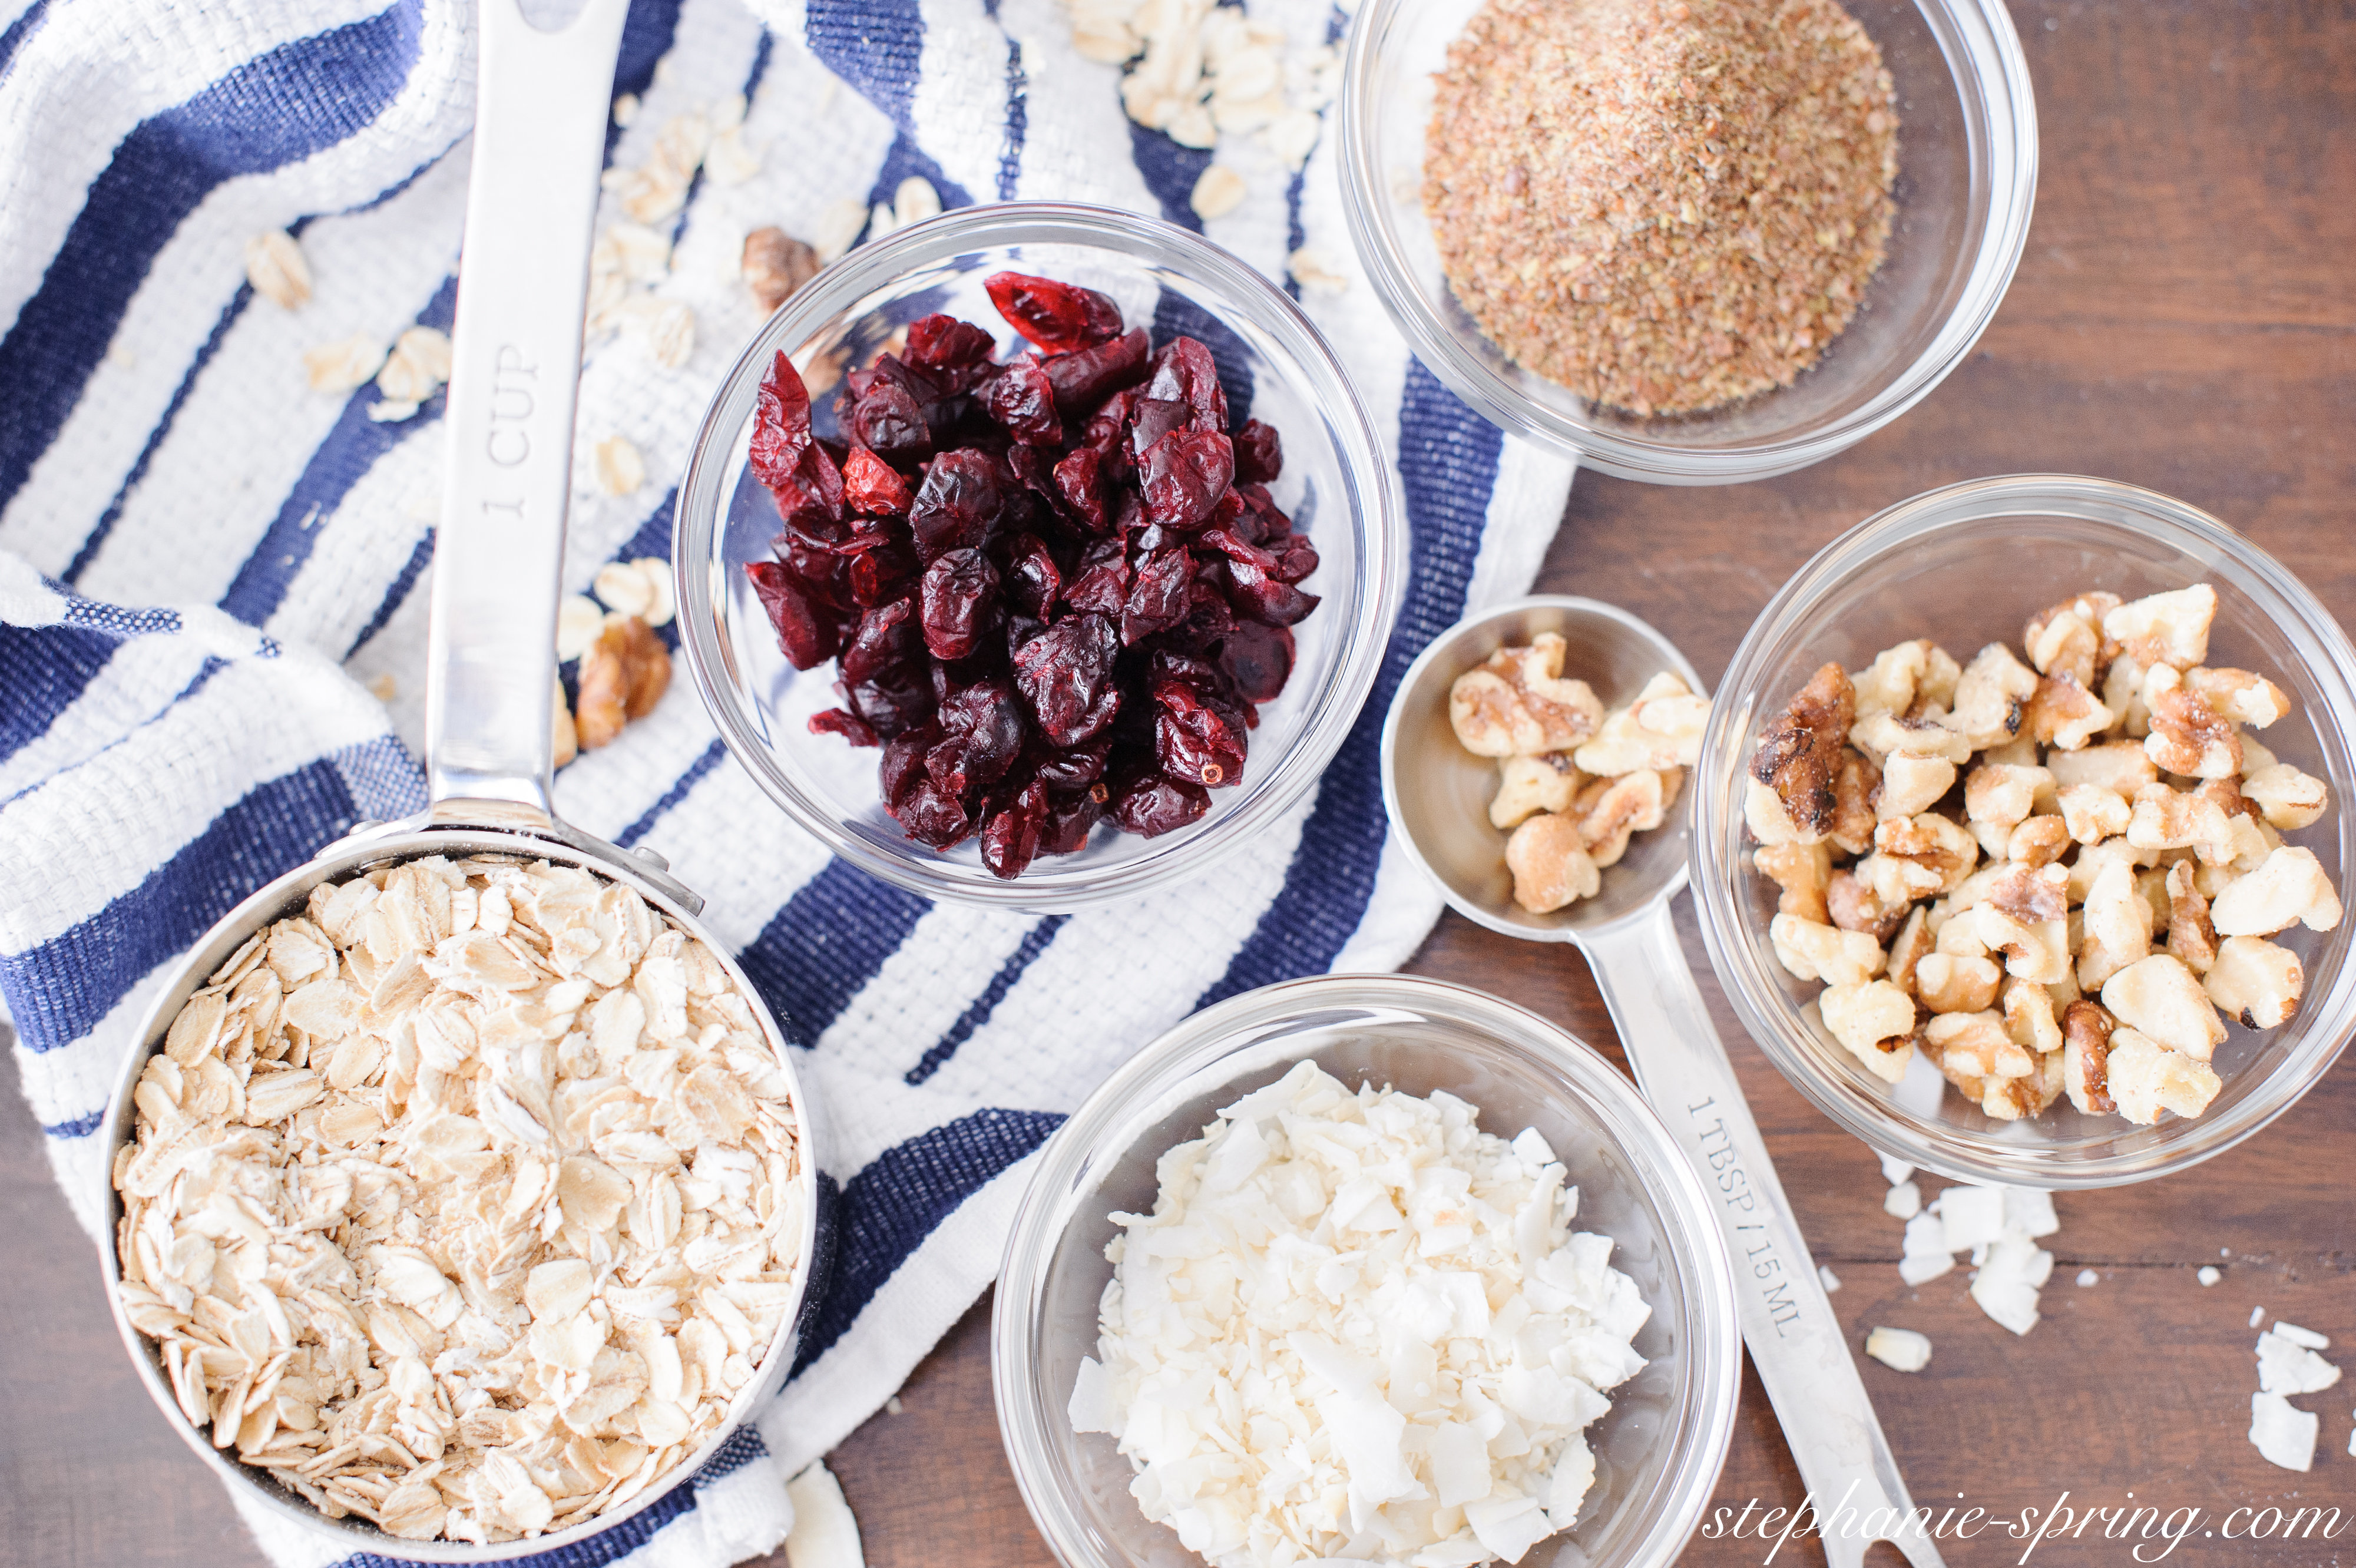
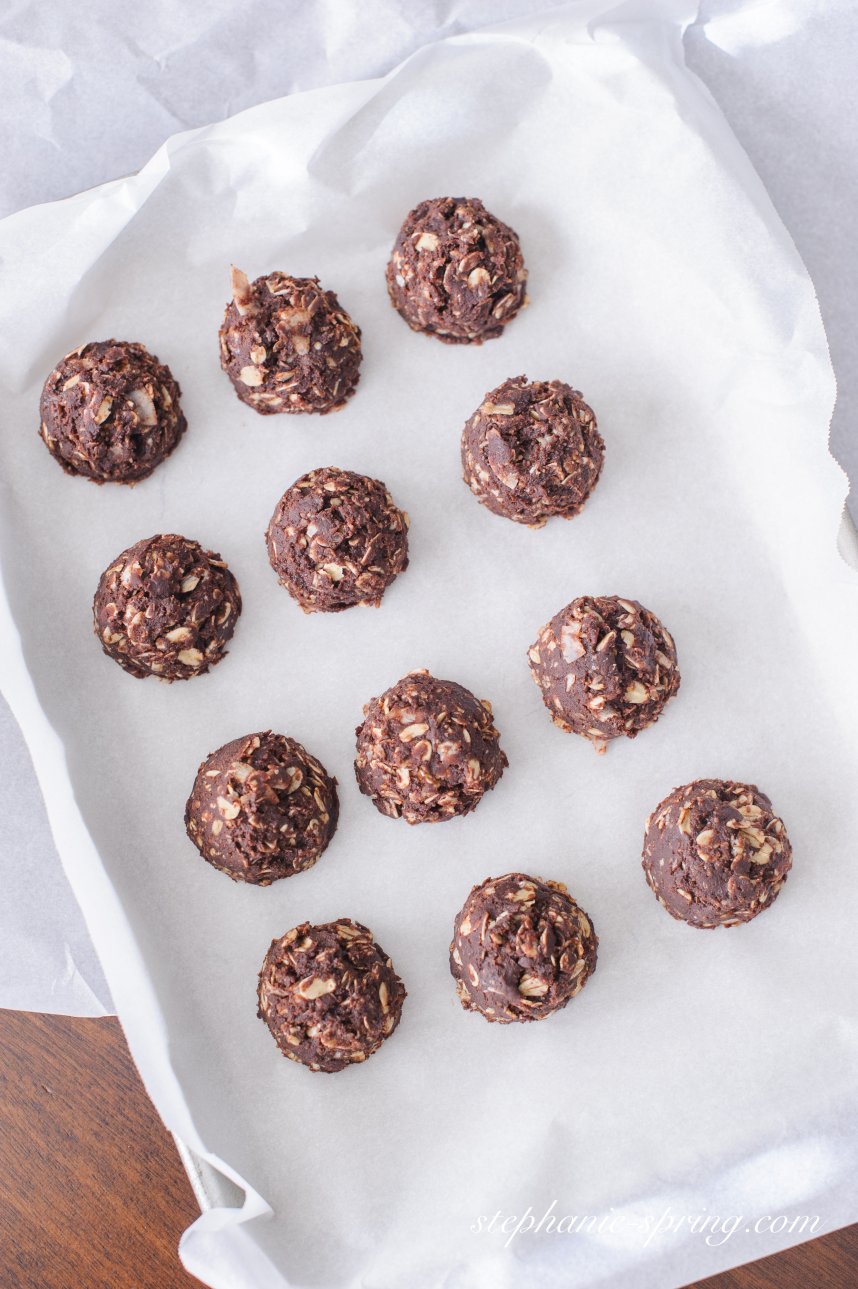
There are so many recipes out there with hundreds of combinations of ingredients for energy bites. I’d be lying if I said I was determined to create my own recipe. The reality is, I was hungry one night, made a concoction and realized that what I made held together so much better than the original recipe I used. Better yet, (more…)

Peppermint Bark

Easy Peppermint Bark Recipe at: stephanie-spring.comEasy Peppermint Bark stephanie-spring.com

Peppermint is my love language. Peppermint bark is an entirely different ball game. A ball game I actually like. There is something about it. I don’t know if it’s the peppermint smell, how nice it looks on a plate, or how it can be perfectly used as an appetizer ;), dessert, or snack. I love how easy it is to make and how it can be wrapped up and used as the sweetest gift. I love all things chocolate and peppermint and this time of year it makes things even more merry and bright!

Easy Peppermint Bark Recipe at: stephanie-spring.com


Ingredients:

  • 2 60% Cacao Ghirardelli chocolate premium baking bars
  • 2 Ghirardelli White chocolate premium baking bars
  • 1 bag mini candy canes or 1 bag of Andes Peppermint Crunch baking chips

What do to:

Line a baking sheet with parchment paper. In a small sauce pan melt the dark chocolate on a low heat, making sure not to burn the chocolate. Stir chocolate to make sure there aren’t any unmelted pieces. Pour onto the parchment paper and spread evenly. Place the baking sheet in the freezer for 25 minutes or until completely hard. Meanwhile, crush up candy canes into bits and pieces. I love the fresh peppermint flavor but for a time saver you can use, Andes Peppermint Crunch baking chips as a substitute.

Take the baking sheet out of the freezer and prepare the white chocolate the same way you prepared the dark chocolate in a small sauce pan. Once all of the white chocolate is melted, you can mix in the crushed up candy canes or wait to sprinkle them on top. Spread the white chocolate and candy cane mixture over the frozen chocolate. Spread evenly. Avoid overspreading the white chocolate. It may cause the dark chocolate to melt and show through the white chocolate. Place in the freezer for 25 minutes or until completely hard.

Remove the bark from the freezer and break apart into desired size pieces.

Eat. Nap. Repeat. 😉


Homemade Granola

Homemade Granola--Recipe at: stephanie-spring.com Homemade Granola--Recipe at: stephanie-spring.com Homemade Granola--Recipe at: stephanie-spring.comRight as I got into soup, sweaters, and socks… it hits almost 80 degrees. It’s November and in our neck of the woods that is not exactly common. But for a girl who dreams of 90 degree days, pools, and sunshine… this is the life. One day I crave a salad and the next I want to cuddle up next to a fire and eat soup. I needed to find a happy medium food that would settle all this moody weather… and let me tell you, I think I may have hit the jackpot. I am completely guilty of eating this almost all day long with no shame. My logic is if I have it with milk for breakfast, then with yogurt for lunch, and then graze on it by the handful all by itself an hour later, then it is acceptable. Wishful thinking? It’s addictive in the best way possible. The great this is…it’s a guilty pleasure you don’t have to feel guilty about.

Homemade Granola--Recipe at: stephanie-spring.com


Ingredients:

  • 1/2 cup shredded coconut
  • 3 cups rolled oats
  • 3/4 cup ground flax
  • 3/4 cup slivered almonds
  • 1 cup walnuts
  • 1 5 o.z package crasins or raisins
  • 1 1/2 cup natural, raw honey
  • 3/4 cup coconut oil
  • 1 1/2 tbsp cinnamon

What to do:

Preheat oven to 325 degrees. Mix all dry ingredients together in a large bowl. Bring honey, coconut oil, and cinnamon to a boil in a small saucepan and remove from heat. Immediately, pour the wet mixture over the dry ingredients and mix thoroughly. Spread mixture on a greased baking sheet. (I lightly rubbed the baking sheet with butter). You can also use parchment paper for a much easier clean up! Bake in oven for about 30 minutes. Stir every five minutes so the bottom doesn’t burn.